How to Keep Your Cool Room Running Efficiently Year-Round
18 December 2025
Learn simple ways to keep your cool room stable, energy friendly and dependable through every season.
Ever given air conditioning installation a red-hot go, only to realise it’s a bit trickier than you bargained for? Yeah, we’ve walked a mile in those shoes too. You wouldn’t read about it, but the labour alone for installing an AC unit can add up quickly! Strewth! But no need to worry about that too much.
We’ve pieced together this ripper of a guide with 5 simple steps to nail your AC unit installation. Arm yourself with our helpful tips and not only could you save some hard-earned dollars, but also keep your home as cool as a cucumber or snug as a bug throughout the year – regardless of what Mother Nature throws at ya!
To master air conditioning installation, follow these simple steps: set up the indoor unit, install the outdoor condenser, complete the wiring and connections, test the system for functionality, and seal and insulate everything properly.
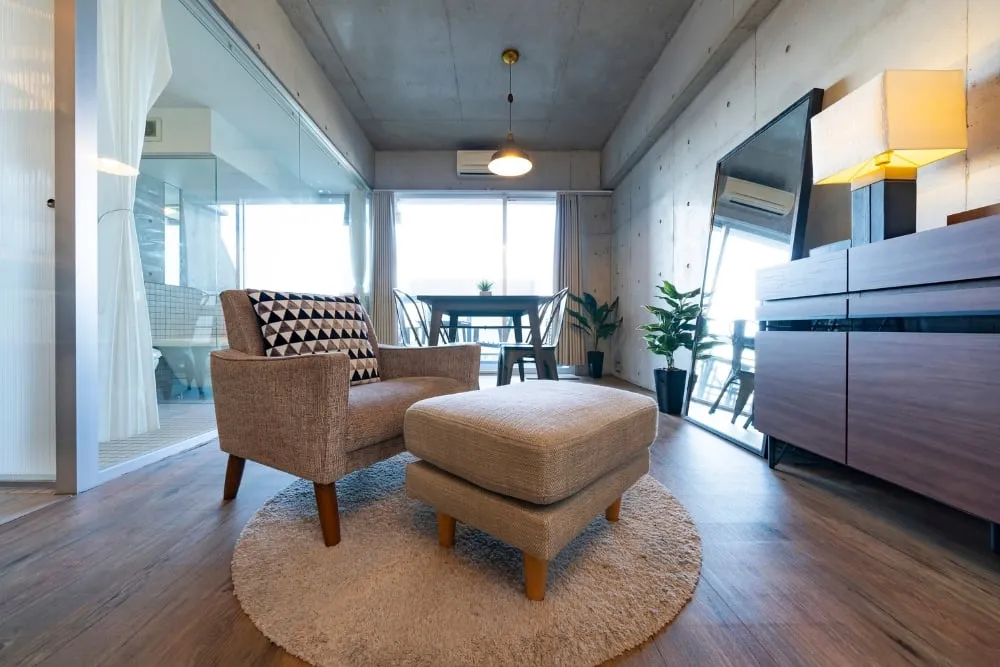
First, we need to fix the indoor unit of your air conditioner. We pick a spot on the wall high enough for cool air to flow over the room. Make sure it’s at least 7 feet off the ground and not near any heat source.
It should be on an inner wall for better cooling effect. Then, we use a level tool to draw a line where we will hang it. Next, we drill holes into the wall along this line

and insert plugs in them.
These hold up our mounting plate tightly against the wall. The next step is making a hole in that same wall outside for cables and pipes to pass through from inside out.
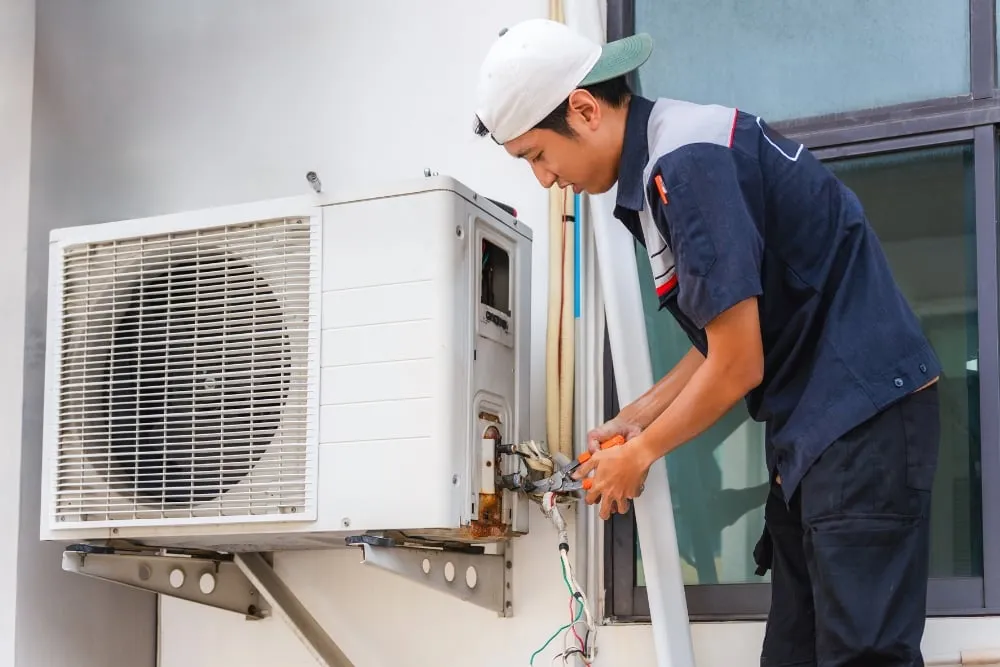
Now that you have set up the indoor unit, it’s time to install the outdoor condenser. This is an important step in air conditioning installation. The condenser needs to be placed in a well-ventilated area, away from obstructions and direct sunlight.
You will need to secure the condenser using mounting brackets or a concrete pad. Make sure that it is level and stable. Connect the refrigerant lines and electrical wires according to the manufacturer’s instructions.
Finally, test for any leaks before moving on to the next step.
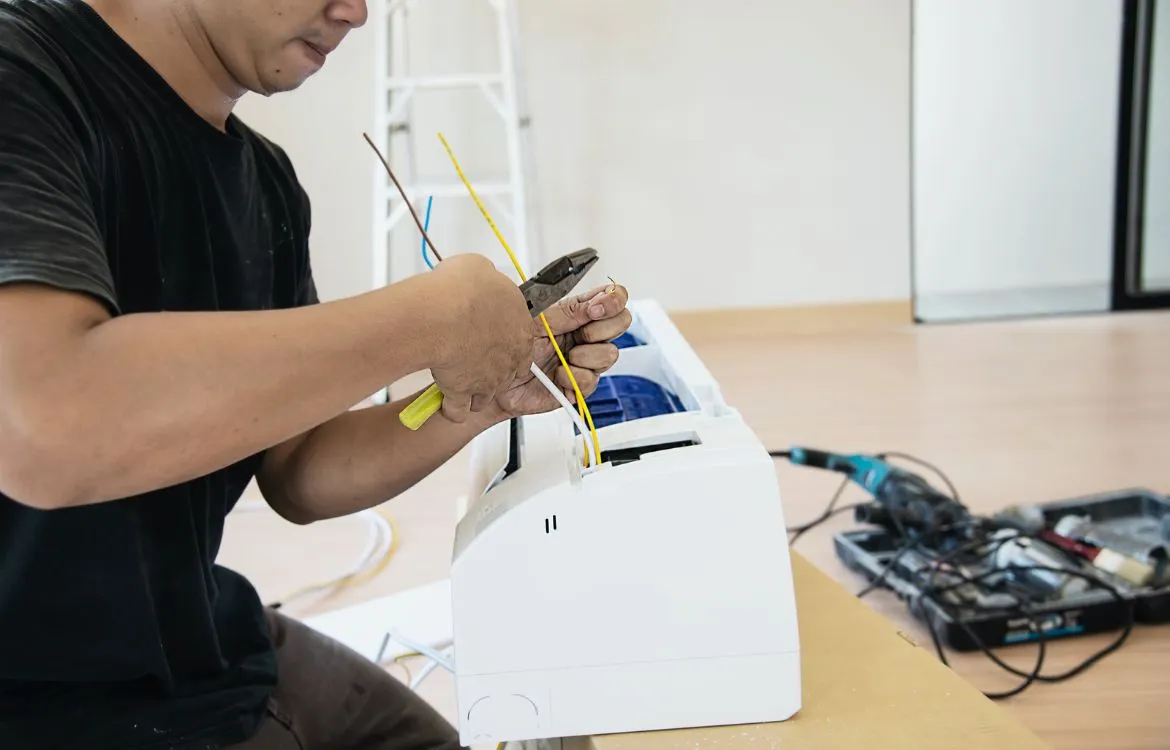
For Step 3 of completing your air conditioning installation, it’s time to focus on the wiring and connection. This is an important step that ensures your AC unit operates properly.
First, make sure you turn off the power supply before working with any wires to avoid accidents. Then, carefully connect the indoor and outdoor units using the specified cables provided by the manufacturer.
Double-check that all connections are secure and tightened properly. Once everything is connected, turn on the power and test the system to ensure it’s working correctly. Don’t forget to follow proper safety precautions throughout this step!
Once you’ve finished wiring and connecting everything, it’s time to test your air conditioning system. Turn on the power and set the thermostat to a cool temperature. Make sure both the indoor and outdoor units are running smoothly without any strange sounds or vibrations.
Check for any leaks in the refrigerant lines or ductwork. You should also verify that cool air is flowing out of the vents and that all controls are functioning properly. If everything looks good, congratulations! Your air conditioning installation is complete and ready to keep you comfortable during those hot summer days.
To ensure that your air conditioning system operates efficiently, it’s important to seal and insulate all the connections. This helps prevent any air leaks that could reduce its cooling effectiveness.
Use weatherstripping or foam tape to seal gaps around the unit and between the window frame or wall. Insulating materials such as duct insulation or foam boards can also be used on any exposed pipes or ductwork to minimise heat loss.
By properly sealing and insulating your AC system, you can maximise its performance and energy efficiency, helping you stay cool while saving money on your utility bills.
When installing your air conditioning system, it’s important to take some expert tips into consideration. Choosing the right location for both the indoor and outdoor units is crucial for optimal performance and energy efficiency.
Make sure to properly insulate and seal the system to prevent any leaks or drafts. Additionally, ensuring proper electrical connections will help avoid any potential hazards or malfunctions down the line.
To ensure proper air conditioning installation, it is important to choose the right location for both the indoor and outdoor units. For the indoor unit, find a spot that is away from direct sunlight and heat sources like lamps or appliances.
It should also be easily accessible for maintenance and cleaning. As for the outdoor condenser, place it in an area with good airflow, away from bushes or obstructions. This will help prevent overheating and allow efficient operation of the system.
By considering these factors when choosing the locations, you can optimise your air conditioning’s performance and lifespan.
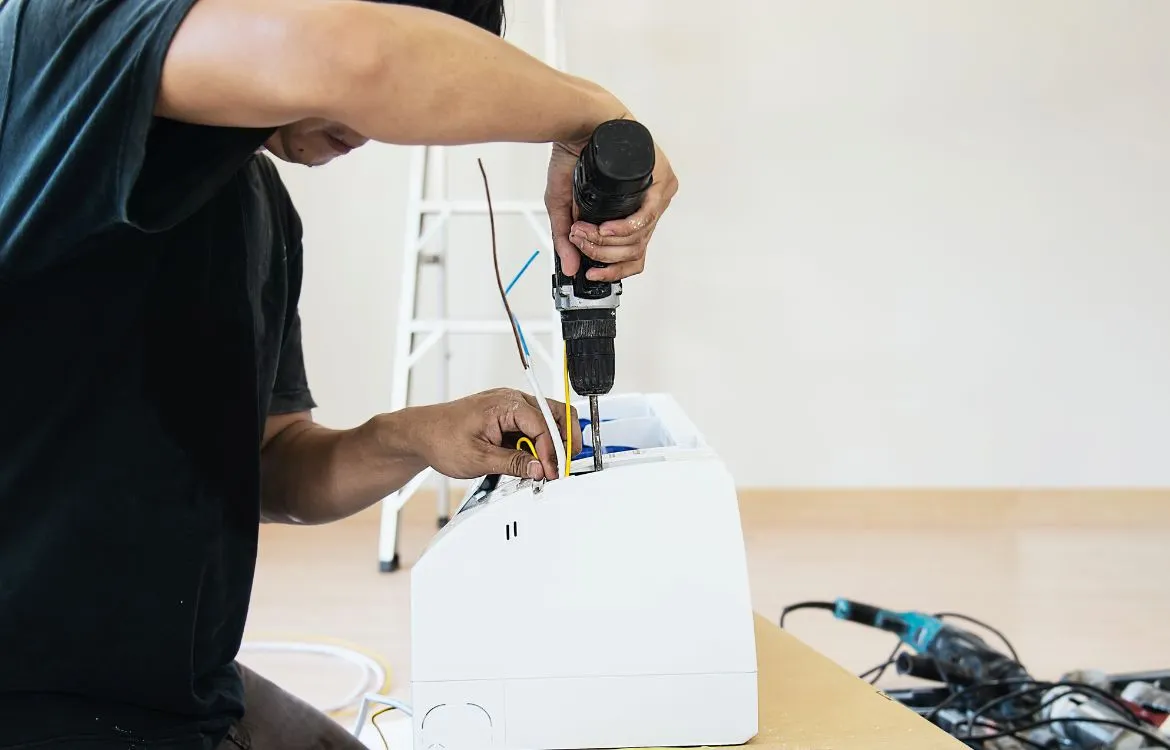
To ensure proper electrical connections when installing your air conditioning system, it’s important to follow these steps carefully. First, make sure the power supply is turned off before you start working.
Then, connect the wires from the indoor unit to the control panel of the outdoor condenser using wire nuts or connectors. It’s crucial to match the colors correctly and tighten them securely.
Next, connect the power wires from both units to an electrical junction box using a flexible conduit. Don’t forget to check that all connections are tight and secure before turning on the power supply.
To ensure your air conditioning system operates efficiently and effectively, it is important to properly insulate and seal the system. This helps to prevent any air leaks and keeps the cool air inside your home.
One key tip is to check for any gaps or cracks in the walls, windows, or doors where air can escape. Use weatherstripping or caulking to seal these areas and keep the conditioned air from leaking out.
In addition, make sure that all ductwork connections are tightly sealed. Any loose connections can lead to air leakage, reducing the efficiency of your system. You can use metal tape or mastic sealant to secure these connections.
Insulating your ductwork is also crucial for optimal performance. Insulation helps maintain a consistent temperature throughout your home by preventing heat gain or loss through the ducts.
Air conditioning installation can be a smooth process if you steer clear of some common pitfalls. One such pitfall is improper unit sizing. Selecting an AC unit that’s too small for your space can result in inadequate cooling and higher energy bills. Conversely, choosing an oversized unit may lead to frequent cycling on and off, wasting energy and straining your equipment. To find the right fit, consider factors like your home’s square footage, ceiling height, insulation, and local climate conditions, and consulting a professional can help you make an informed choice.
Another misstep to avoid is the improper installation of the condenser unit. Placing the condenser too close to obstructions or exposing it to direct sunlight can impede its performance. Ensuring it’s installed on a level surface, making correct electrical connections, and positioning it at an appropriate distance from walls or fences are essential for efficient and trouble-free operation.
Regular maintenance is a crucial aspect of air conditioning care. Neglecting routine upkeep can result in various problems, including reduced system efficiency.
Dust and dirt accumulation on filters, coils, and fins can impede airflow and force your AC to work harder, raising your energy bills. Additionally, neglect can lead to more serious issues like refrigerant leaks or compressor failure, which can be costly to repair. Scheduling professional maintenance is vital to keep your air conditioning system running smoothly and avoid unnecessary expenses in the long run.
One common mistake to avoid when installing an air conditioner is improper sizing of the unit. It’s important to choose an AC system that is the right size for your space. If the unit is too small, it won’t be able to cool your home effectively.
On the other hand, if it’s too large, it will cycle on and off frequently, resulting in energy waste and increased wear and tear on the equipment. To ensure proper sizing, consider factors such as the square footage of your home, ceiling height, insulation levels, and local climate conditions.
Consulting with a professional can help you determine the appropriate size for your air conditioner based on these factors.
Incorrect installation of the condenser can cause major issues with your air conditioning system. It is important to ensure that the condenser is properly installed to prevent problems such as poor cooling performance, refrigerant leaks, and even damage to the unit.
One common mistake is not placing the condenser on a level surface, which can lead to vibration and noise issues. Another error is improper electrical connections, which can result in short circuits or equipment failure.
Lastly, failing to install the condenser at an appropriate distance from walls or fences can restrict airflow and reduce efficiency. Taking care during the installation process will help avoid these mistakes and ensure optimal functioning of your air conditioner.
Regular maintenance is key to keeping your air conditioning system in good working condition. Neglecting maintenance can lead to various problems down the line. One of the main issues that arise from neglecting regular maintenance is poor performance and reduced efficiency of the unit.
Dust and dirt can accumulate on the filters, coils, and fins, hindering airflow and making it harder for your AC to cool your home effectively. This not only affects your comfort but also increases energy consumption, leading to higher utility bills.
Additionally, neglecting regular maintenance can also result in more significant problems like refrigerant leaks or compressor failure, which can be costly to repair. Therefore, it’s essential to schedule regular professional maintenance for your air conditioning system to ensure optimal performance and avoid unnecessary expenses in the long run.
Mastering air conditioning installation in 5 easy steps is achievable with the right knowledge and preparation. By following the outlined steps and considering expert tips, you can successfully install your air conditioner and enjoy a cool and comfortable home.
Don’t forget to avoid common mistakes and seek professional help when needed for an efficient and hassle-free installation process.
18 December 2025
Learn simple ways to keep your cool room stable, energy friendly and dependable through every season.
1 November 2025
Get ready for the next heatwave with easy steps to keep your home cool and energy efficient. Prepare your air conditioner and improve comfort before summer arrives.
27 September 2025
Upgrade comfort in older properties with practical ways to install modern air conditioning that improves efficiency and airflow across Newcastle and the Hunter.
Questions about your own system, or thinking about an upgrade? Send an enquiry and the team will come back to you promptly. New installations start with a free quote.
Tell us what you need and the team will respond promptly, usually with the next step or a free quote.