How to Keep Your Cool Room Running Efficiently Year-Round
18 December 2025
Learn simple ways to keep your cool room stable, energy friendly and dependable through every season.
We all know the drill – as soon as that fierce Aussie sun cranks up the heat, we’re practically melting like a Paddle Pop on the pavement. But imagine coming home to a haven that’s as chilled as a coldie from the esky, pure bliss! Our straightforward 4-step guide to AC installation is about to be your new best mate, helping you turn your place into the ultimate cool retreat while keeping those power bills in check.
So let’s roll up our sleeves and send those sizzling temps packing!
To ensure a successful AC installation, it’s crucial to have the necessary tools and materials ready. This includes mounting
brackets, piping, electrical connections, and sealing materials for a secure and efficient setup.
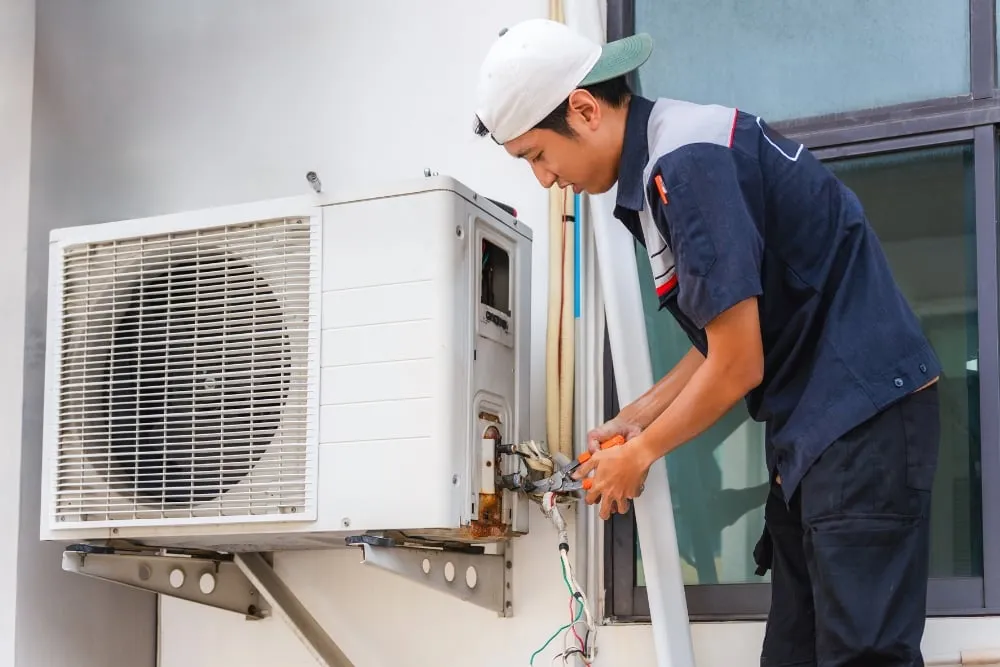
Mounting brackets are essential for keeping your split system’s outdoor unit stable and secure. We must choose durable, quality brackets that can hold the weight of the compressor and condenser unit.
The right brackets help prevent vibrations and reduce noise, which is essential for creating a peaceful home environment.
We install mounting brackets on a solid wall or surface to ensure safety and stability. It’s important they’re fixed correctly to handle extreme weather conditions. Proper installation avoids damage to both the air conditioning unit and your property, guaranteeing cool comfort all year round without any hiccups.
We connect the indoor and outdoor units using piping. These pipes transport the refrigerant, allowing the air conditioning unit to cool your home efficiently. Properly insulating and securing these pipes is crucial for optimal performance.
Sealing materials help prevent any leaks in the piping system, ensuring efficient cooling throughout your home. The correct installation of piping guarantees energy efficiency, contributing to a comfortable living environment.
After securing the piping, it’s time to focus on electrical connections. First, ensure that the power is switched off before starting any work. Then, connect the wiring from the indoor unit to the outdoor unit according to manufacturer instructions.
Finally, secure all electrical connections and cover them with protective casing for safety.
Once we’ve completed the electrical connections, it’s time to move on to sealing materials necessary for completing the installation process.
Now it’s time to ensure that our installation remains secure and airtight. Sealant tape is vital for insulation and preventing air leaks. It keeps the piping connections tight, maintaining energy efficiency.
Next, we’ll need expanding foam to fill any gaps around pipes or units, ensuring cool air stays inside. This step guarantees the system functions at its best and maintains indoor air quality without any leakage issues.
Experience efficient AC installation with our skilled professionals in just 4 simple steps. Achieve cool comfort effortlessly and
effectively.
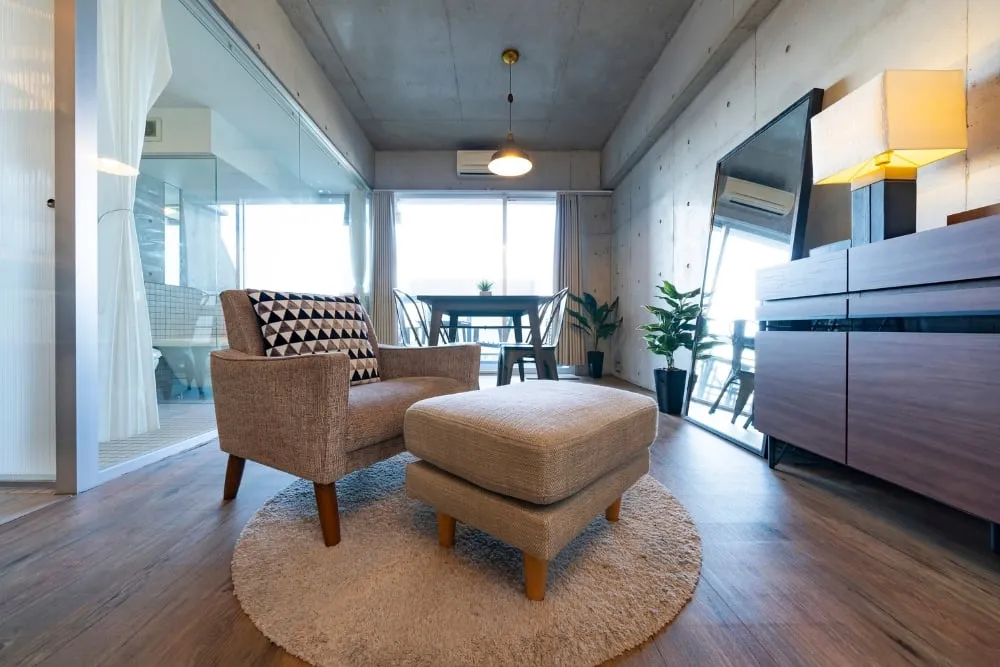
Choose a central location for your AC unit, ensuring it’s close to an electrical outlet. Position the indoor unit at a suitable height on an interior wall. Keep it away from direct sunlight and heat sources to maintain energy efficiency.
Also, consider placing the outdoor unit where there’s good airflow and minimal obstruction. This will aid in efficient cooling performance all year round.
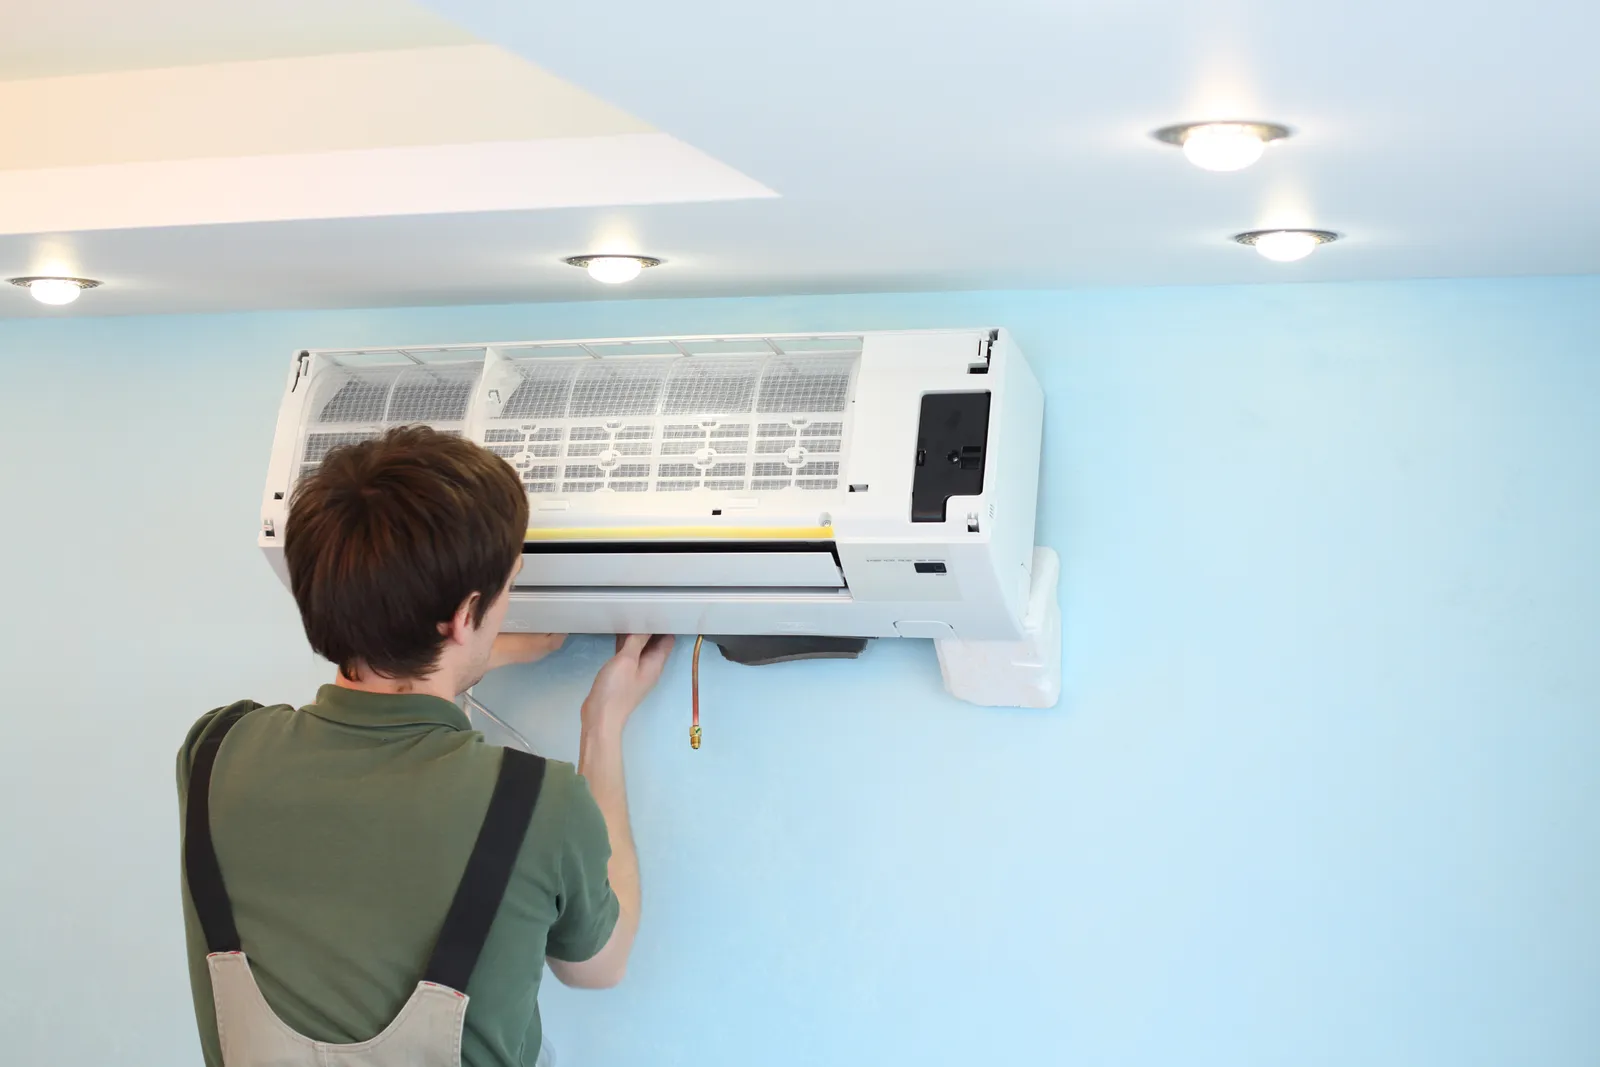
Position the mounting brackets securely on the wall using appropriate bolts and screws. Carefully hoist the cooling unit onto the brackets, ensuring it’s level and stable. Use a spirit level for accuracy.
Test that all connections are secure before sealing any gaps with weatherproof materials. Finally, power up your new air conditioning unit while checking for any leaks or abnormal sounds during operation.
Now, we position the indoor unit and gently connect it to the outdoor unit using insulated piping. We securely fasten the pipes and wiring in place. Finally, we seal any gaps with weatherproof materials to ensure energy efficiency and optimal performance.
Testing is then conducted to verify proper functionality before enjoying the cool comfort of your newly installed air conditioning system.
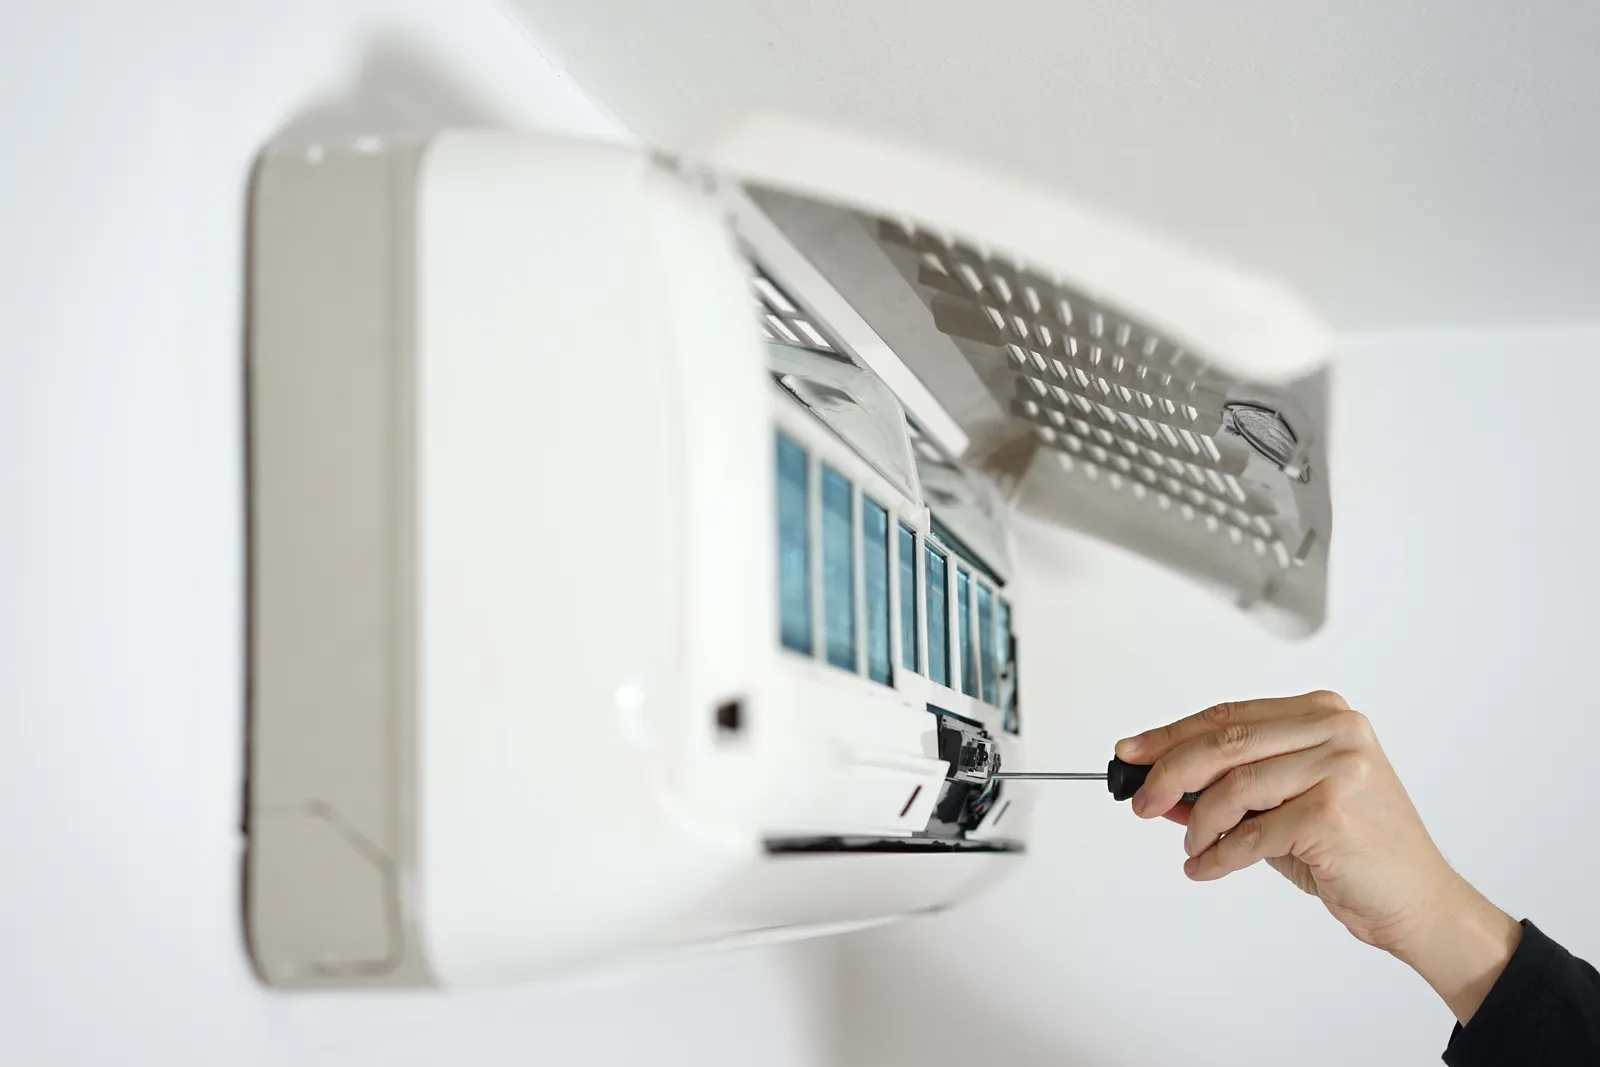
Once the AC unit is securely in place and connected, it’s time to seal any openings using a high-quality sealant. This will ensure that no air escapes and that your system operates efficiently.
After sealing, testing the entire system is crucial. Turn on the AC and check for any leaks or unusual noises, making sure both indoor and outdoor units are running smoothly. A thorough test ensures your newly installed cooling system will provide you with the cool comfort you desire during hot days.
By following these steps in our 4-Step AC Installation process, you can confidently enjoy the magic of cool comfort in your home without any hassles or worries about how well your AC was installed.
Experiencing cool comfort is just a 4-step process away. Find the perfect location for your AC unit to maximise efficiency. Securely mount and connect the indoor and outdoor units with precision.
Seal all connections tightly and thoroughly test the system for optimal performance. Get ready to revel in the magic of a perfectly installed cooling system!
18 December 2025
Learn simple ways to keep your cool room stable, energy friendly and dependable through every season.
1 November 2025
Get ready for the next heatwave with easy steps to keep your home cool and energy efficient. Prepare your air conditioner and improve comfort before summer arrives.
27 September 2025
Upgrade comfort in older properties with practical ways to install modern air conditioning that improves efficiency and airflow across Newcastle and the Hunter.
Questions about your own system, or thinking about an upgrade? Send an enquiry and the team will come back to you promptly. New installations start with a free quote.
Tell us what you need and the team will respond promptly, usually with the next step or a free quote.